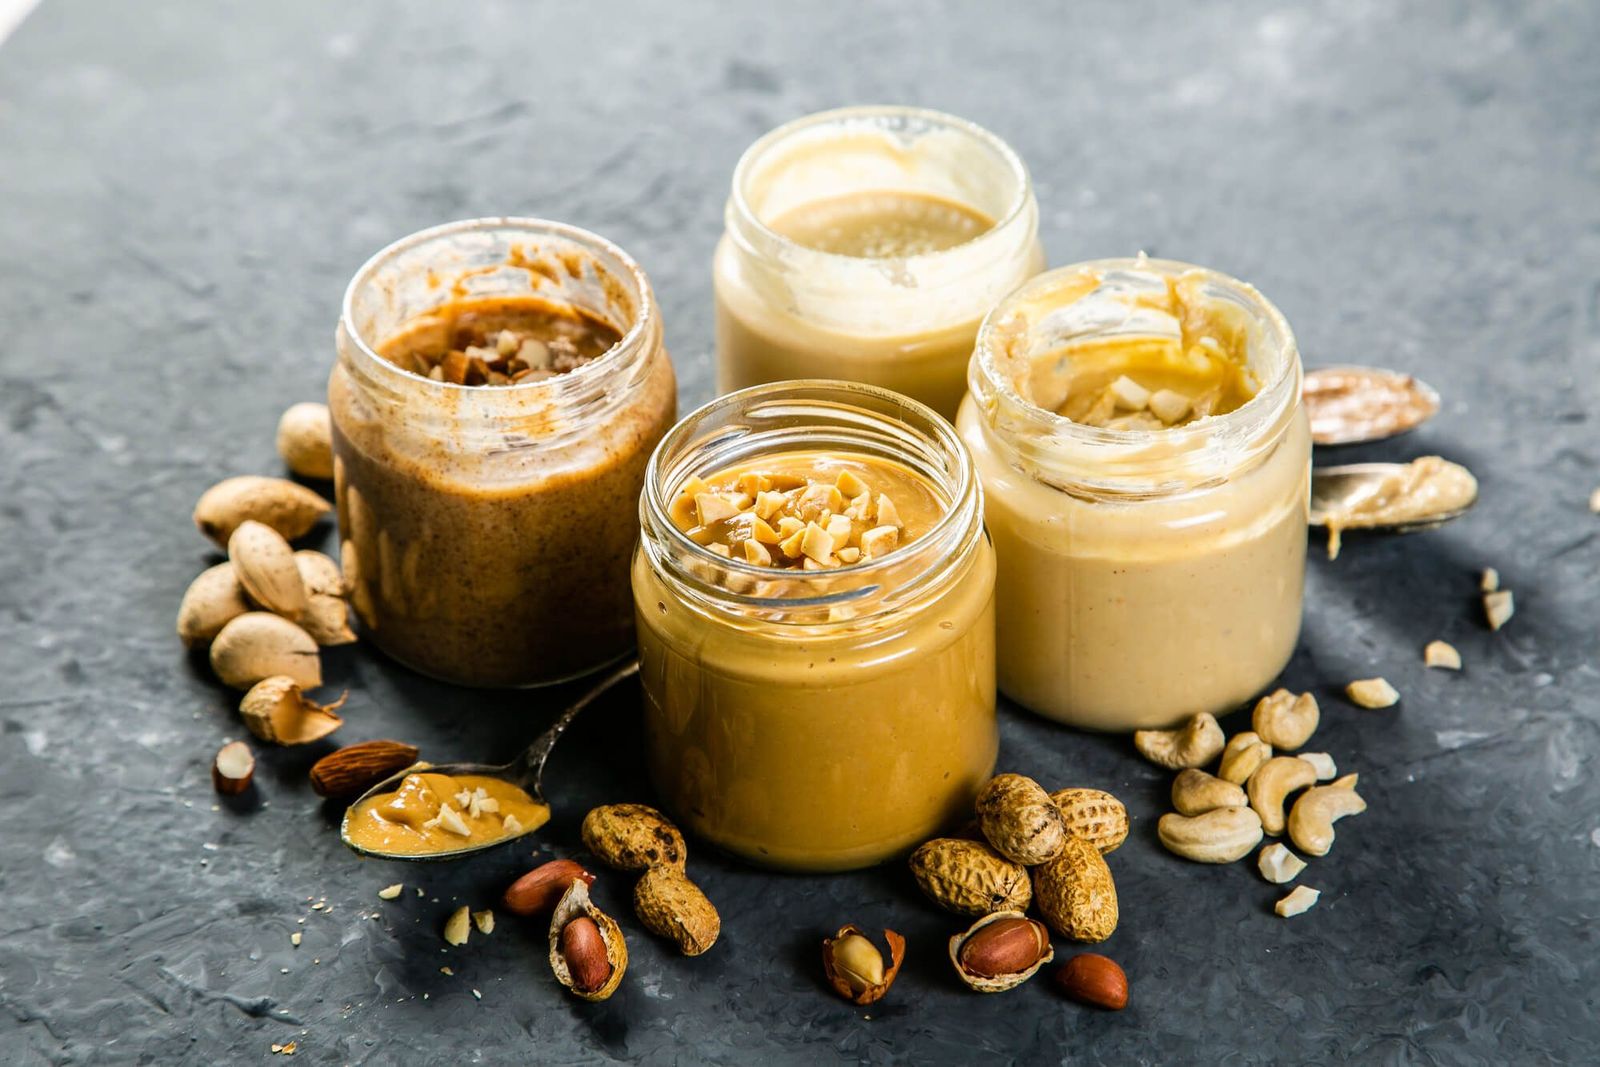
Crafting nut butter at home is a simple and rewarding process. With just a few ingredients and a reliable blender, you can create a delicious and nutritious spread that's packed with protein and healthy fats.
This micro-guide will walk you through the steps of making your own nut butter at home.
Jump To:
- Choosing the Right Nuts for Your Butter
- The Essential Equipment: Why a Blender?
- Step-by-Step Guide to Crafting Nut Butter at Home
- Customizing Your Nut Butter: Flavor Additions
- Storing Your Homemade Nut Butter
- Frequently Asked Questions
- Further Reading
Choosing the Right Nuts for Your Butter
The first step in crafting nut butter at home is selecting the right nuts. Almonds, peanuts, and cashews are popular choices due to their rich flavor and creamy texture when blended.
However, you can also experiment with other types of nuts like walnuts, pecans, or even sunflower seeds for a unique twist.
Remember, each type of nut will bring a different flavor profile and nutritional benefits to your homemade nut butter.
The Essential Equipment: Why a Blender?
While food processors are often used to make nut butter, a high-powered blender can do the job as well, if not better. Blenders are typically more powerful and can process the nuts into smooth, creamy butter in less time.
Additionally, blenders are easier to clean and can be used for a variety of other tasks in the kitchen, making them a versatile tool for any home cook.
Step-by-Step Guide to Crafting Nut Butter at Home
Making nut butter at home is a straightforward process. Here are the steps:
- Optional: Roast your chosen nuts in the oven at 350 degrees Fahrenheit for about 10 minutes. This can enhance the flavor of the nuts.
- Once the nuts have cooled, add them to your blender.
- Start processing. Be patient, as this can take anywhere from 10 to 20 minutes, depending on the power of your blender.
- Your nut butter is ready when it's smooth and spreadable.
Customizing Your Nut Butter: Flavor Additions
One of the best things about making nut butter at home is the ability to customize the flavor to your liking.
Here are some suggestions:
- Consider adding a pinch of salt to enhance the natural flavor of the nuts.
- Add a drizzle of maple syrup or a sprinkle of cinnamon for a sweet twist.
- If you prefer a more savory spread, try adding a dash of smoked paprika or a spoonful of nutritional yeast for a cheesy flavor.
Storing Your Homemade Nut Butter
After crafting your nut butter, transfer it to an airtight container and store it in the refrigerator. Homemade nut butter can last for up to two weeks when stored properly.
Always use a clean spoon when serving your nut butter to prevent contamination and extend its shelf life.
Frequently Asked Questions
Is it worth making your own nut butter?
Absolutely! Making your own nut butter allows you to control the ingredients and customize the flavors. It's also a cost-effective alternative to store-bought varieties.
What equipment do I need to make nut butter?
The equipment you'll need to make nut butter is a high-powered blender or food processor and an airtight container for storage.
Can you make nut butter without a food processor?
Yes, a high-powered blender can also be used to make nut butter.
How to make nut butter by hand?
Making nut butter by hand can be quite labor-intensive and time-consuming. It involves grinding the nuts using a mortar and pestle until they turn into a paste. This method is not recommended for large batches.
Further Reading
- Blender or Food Processor: What's Best for Nut Butter Creation - Expand your knowledge on the best appliance for nut butter creation. This article compares blenders and food processors, helping you make an informed decision.
- Unraveling the Blender: The Science of Nut Butter Making- Enhance your understanding of the mechanics of your blender. Discover the scientific principles that make nut butter creation possible.
- How to Make Almond Butter: Unveil the secrets of making your own almond butter at home with Cookie + Kate's detailed and user-friendly guide.
- If you're considering investing in a new blender for your nut butter creations, check out our article on the best blenders for nut butter.