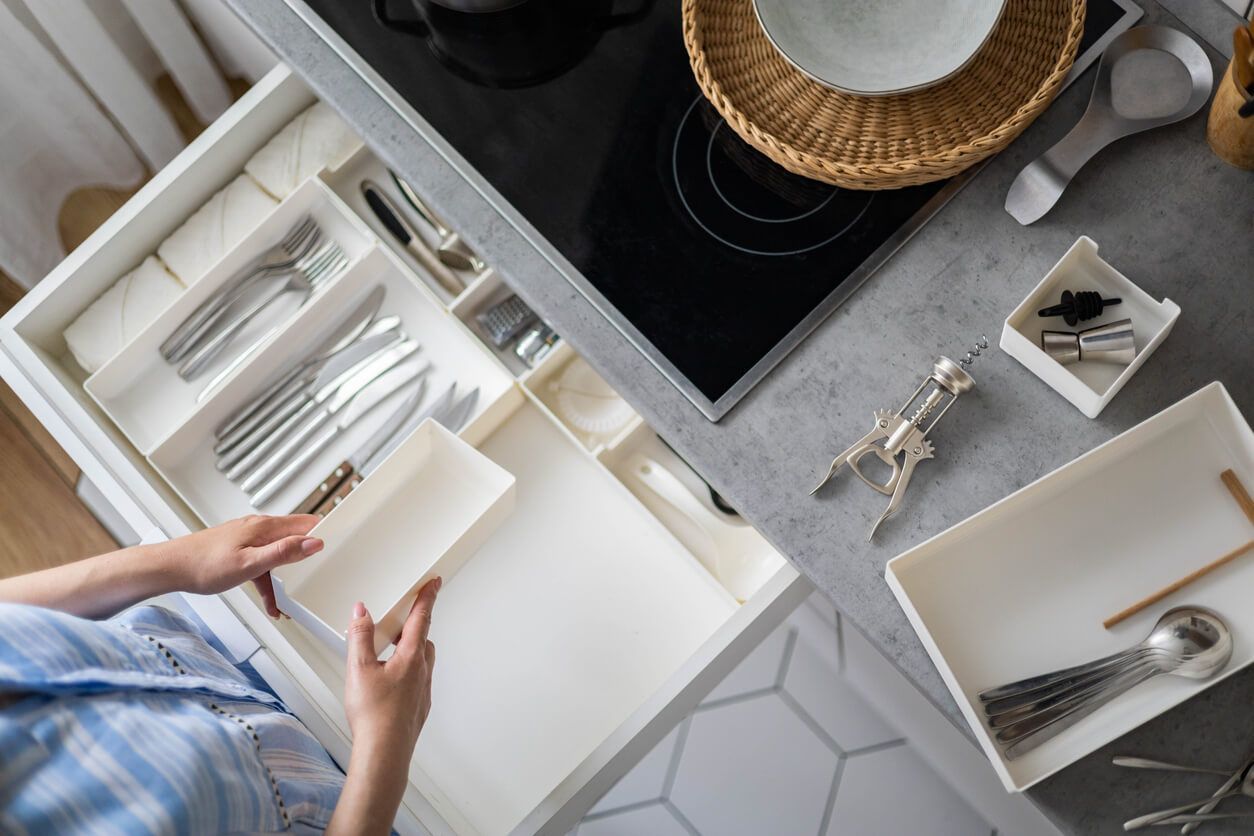
Creating your own knife drawer storage is a fantastic way to add a personal touch to your kitchen while ensuring your knives are stored safely and efficiently.
This DIY project is practical and provides an opportunity to showcase your creativity and woodworking skills.
Jump To:
- Why DIY Knife Drawer Storage?
- Materials Needed
- Step-by-Step Guide
- Tips for Success
- Conclusion
- Frequently Asked Questions
- Further Reading
Why DIY Knife Drawer Storage?
Choosing to create your own DIY knife drawer storage has several advantages:
- Customization: One of the biggest benefits of DIY is the ability to customize your project to fit your specific needs. You can design your knife storage to fit your drawer perfectly and create as many slots as you need for your knives.
- Cost-Effective: Purchasing a pre-made knife drawer storage can be expensive, especially if you have many knives or need a specific size. By choosing DIY, you can often save money by purchasing materials and doing the work yourself.
- Satisfaction: A great sense of satisfaction comes from completing a DIY project. You'll not only have a functional knife storage solution, but you'll also have the pride of knowing you made it yourself.
- Quality Control: When you create your own knife storage, you control the quality of the materials and the craftsmanship. You can choose high-quality woods and finishes and take the time to ensure everything is assembled securely.
- Fun and Learning: If you enjoy woodworking or DIY projects, creating your own knife drawer storage can be a fun and rewarding experience. It's also a great opportunity to learn new skills or hone your existing ones.
Materials Needed
When it comes to creating your own DIY knife drawer storage, the materials you choose can make a significant difference in the final result. The materials you'll need for this project include:
- Wooden Planks: You'll need wooden planks cut to the size of your drawer. The type of wood you choose can affect the durability and aesthetic of your knife drawer storage. Popular choices include oak, maple, and walnut for their strength and appealing grain patterns.
- Square Dowel Rods: These will be used to create the individual slots for each knife. Ensure they are cut to the same length as your wooden planks.
- Wood Glue: A high-quality, food-grade wood glue is essential to ensure all parts stick together securely and safely.
- Mineral Oil or Suitable Finish: After assembling your knife drawer storage, you'll want to apply a finish to protect the wood and give it a polished look. Mineral oil is a popular choice as it's safe for food contact.
- Brackets: These will help secure your knife storage in place within the drawer.
- Clamps, Sander or Sandpaper, and a Brad Nailer or Pin Nailer: These tools will be used during the assembly process.
Step-by-Step Guide
Creating your DIY knife drawer storage can be a fun and rewarding project. Here's a step-by-step guide to help you through the process:
- Prepare Your Materials: Cut your wooden planks and dowel rods to the appropriate size. The size will depend on the dimensions of your drawer and the number of knives you plan to store.
- Assemble the Knife Slots: Apply wood glue to your dowel rods and attach them to the wooden planks. Use clamps to hold them in place while the glue dries. This will create individual slots for each knife.
- Create the Frame: Attach additional planks and dowels to complete the knife openings once the glue has dried. Make sure to leave enough space for each knife to fit comfortably.
- Add the Finish: Sand your knife storage to smooth out any rough edges, then apply your chosen finish. This will protect the wood and give your knife storage a polished look.
- Install in Drawer: Finally, use brackets to secure your knife storage in place within the drawer. This will prevent it from shifting when you open or close the drawer.
Tips for Success
Here are some tips to ensure the success of your DIY knife drawer storage project:
- Choose the Right Wood: The type of wood you choose can greatly affect the durability and look of your knife storage. Hardwoods like oak, maple, and walnut are popular choices due to their strength and attractive grain patterns.
- Measure Twice, Cut Once: Before cutting your materials, double-check your measurements to ensure they're accurate. This will help prevent mistakes and waste.
- Allow Enough Space for Each Knife: When designing your knife slots, make sure to leave enough space for each knife to fit comfortably. This will make inserting and removing the knives easier and help prevent them from damaging each other.
- Regular Maintenance: Over time, your knife storage may need some maintenance. Regularly check for any loose parts and reapply the finish as needed to keep your knife storage looking its best.
Conclusion
Creating your own knife drawer storage is a rewarding project that results in a custom storage solution for your kitchen knives. Not only does it keep your knives organized and easily accessible, but it also adds a personal touch to your kitchen decor.
If you're looking for new knife storage or perhaps buying your first one, check out our article on the best in-drawer knife storage for our top 5 recommendations.
For more tips on maintaining your knife storage, don't miss our article "Knife Storage Maintenance: Essential Tips for Your Drawer."
Frequently Asked Questions
Q: What type of wood is best for DIY knife drawer storage? A: Hardwoods like maple, oak, or cherry are great choices due to their durability and resistance to moisture.
Q: How often should I clean my DIY knife drawer storage? A: It's recommended to clean your knife drawer storage at least once a month. However, if you notice any dirt or moisture buildup, clean it immediately to prevent damage to your knives.
Q: Can I later add more slots to my DIY knife drawer storage? A: Yes, you can modify your knife drawer storage as needed. However, it's best to plan for future additions when designing your drawer.
Further Reading
- Benefits of In-Drawer Knife Storage: A Comprehensive Guide: Learn about the advantages of using in-drawer knife storage.
- Choosing Your Knife Storage Solution: Drawer Edition: Get tips on selecting the best knife storage solution for your needs.
- Knife Storage Maintenance: Essential Tips for Your Drawer: Discover how to properly maintain your knife storage to prolong its lifespan.
- Exploring Innovative Designs for Knife Drawer Storage: Explore various innovative designs for knife drawer storage.


